
Field Notes from N1JUR
Real-world ham radio tips, portable operating lessons, gear thoughts, and activation stories from the field to the shack.
What You’ll Find Here
This blog is where I go deeper than a YouTube description. You’ll find practical ham radio guides, activation lessons, gear breakdowns, and field notes from real operating experiences.
Some posts are beginner-friendly. Some get a little more technical. And some are just honest lessons from the field — because not every activation goes perfectly, and that’s usually where the good stuff happens.
Portable operating tips
POTA, SOTA, and location-based activation ideas
Gear and antenna experiments
Beginner-friendly ham radio guides
Field stories and lessons learned

Your First POTA Activation: A Lazy-Sunday Starter Kit That Just Works
You've had your license for a few months. Maybe you've done some repeater work, chatted on a local net, maybe made a couple HF contacts from your living room. And then somebody mentions Parks on the Air and suddenly you're down a rabbit hole at midnight reading activation reports and thinking — okay, I need to do this. The problem is nobody hands you a checklist that says exactly what to bring and exactly what to do. So let me be that person. Here's the honest, no-fluff starter kit for your very first POTA activation.
You've had your license for a few months. Maybe you've done some repeater work, chatted on a local net, maybe made a couple HF contacts from your living room. And then somebody mentions Parks on the Air and suddenly you're down a rabbit hole at midnight reading activation reports and thinking — okay, I need to do this. The problem is nobody hands you a checklist that says exactly what to bring and exactly what to do. So let me be that person. Here's the honest, no-fluff starter kit for your very first POTA activation.
What POTA Actually Is (and Why It Hooks You Fast)
Parks on the Air is a program where ham radio operators make contacts from designated parks, forests, wildlife refuges, historic sites — basically any publicly managed outdoor space that's on the POTA list. You log at least 10 contacts from a single park, upload the log, and it counts as an "activation." The other side of that coin is "hunting" — where operators at home work activators in the field.
What makes it addictive isn't the points. It's the combination of fresh air, radio, and the fact that people are genuinely excited to work you. The moment you self-spot on the POTA website and call CQ, you'll have callers lined up inside 60 seconds on a good day. It feels like magic the first time. And honestly, it still feels like magic on your 50th activation.
The barrier to entry is lower than you'd think. You don't need a fancy rig, you don't need a tower, and you don't need to be a CW wizard. A general license, a modest HF radio, and a wire antenna will get you there.
The Radio: Keep It Simple to Start
For a first activation, you want something you already know how to operate under mild stress. This isn't the time to pull out a radio you just unboxed. If you've got a Yaesu FT-891 or an Icom IC-7300 sitting at home, either of those will do the job fine in the field. The FT-891 in particular is a popular portable choice — it runs 100W on a reasonable current draw, it's compact, and the controls are intuitive once you've spent a few hours with it.
If you're budget-shopping, don't overlook the FT-891 used market — they go for around $450-$550 in good shape and are pretty hard to kill. You can also get into QRP territory with something like an Xiegu G90 (about $400 new), which runs 20W and has a built-in tuner that handles a lot of antenna mismatch sins.
One tip that saves beginners a lot of headaches: set the radio up at home the night before and actually transmit into a dummy load. Make sure your audio sounds good, your keyer is set, your power level is where you want it. The park is not the place to discover you've got RF feedback or the wrong mic setting.
The Antenna: Just Bring Wire
A lot of first-timers overthink the antenna. Here's what I'd recommend for your first outing: a simple end-fed half-wave (EFHW) wire antenna, either a commercial one like the BuddiStick or a SOTAbeams product, or a homebrew version you wind yourself. The EFHW runs resonant on 40m (about 66 feet of wire) or 20m (about 33 feet), doesn't need a tuner if it's cut right, and you can deploy it a dozen different ways — sloped off a tree, as a sloper from a 20-foot Jackite or Spiderbeam mast, or even as an inverted L.
For the mast, a 20- to 33-foot fiberglass crappie pole or a Jackite pole works great. They weigh almost nothing, fit inside a backpack, and stake into the ground with a tent stake and a bungie cord. Bring extra bungie cords. You'll always need one more than you think.
The wire itself — if you're winding your own counterpoise or feedline — use 26 AWG or 28 AWG stranded wire for the antenna radiator if you want something light and packable. For any leads that see mechanical stress, step up to 22 AWG. The difference in weight matters when you're carrying it a half mile.
The Power: Don't Get Clever on Day One
Bring a known, fully charged battery. That's it. For a first activation where you're running 100W, a 20 Ah SLA battery will get you through a 2-hour session without drama. Yes, it weighs about 12 pounds, which is annoying. But it's cheap, reliable, and you don't have to worry about cell balancing or charge voltages or any of that on your first day out.
Use Anderson Powerpole connectors if your radio has them — they're the standard in the POTA/SOTA world and make connecting and disconnecting clean. If your radio came with a cigarette-lighter adapter or bare leads, spend the $20 to crimp on a set of Powerpole connectors before you go.
Bring a small multimeter or a battery voltage monitor that plugs into your Powerpole leads. Watching voltage under load tells you a lot — 12.6V at rest and 12.0V under TX is healthy. If you're seeing 11.5V under TX, start wrapping up.
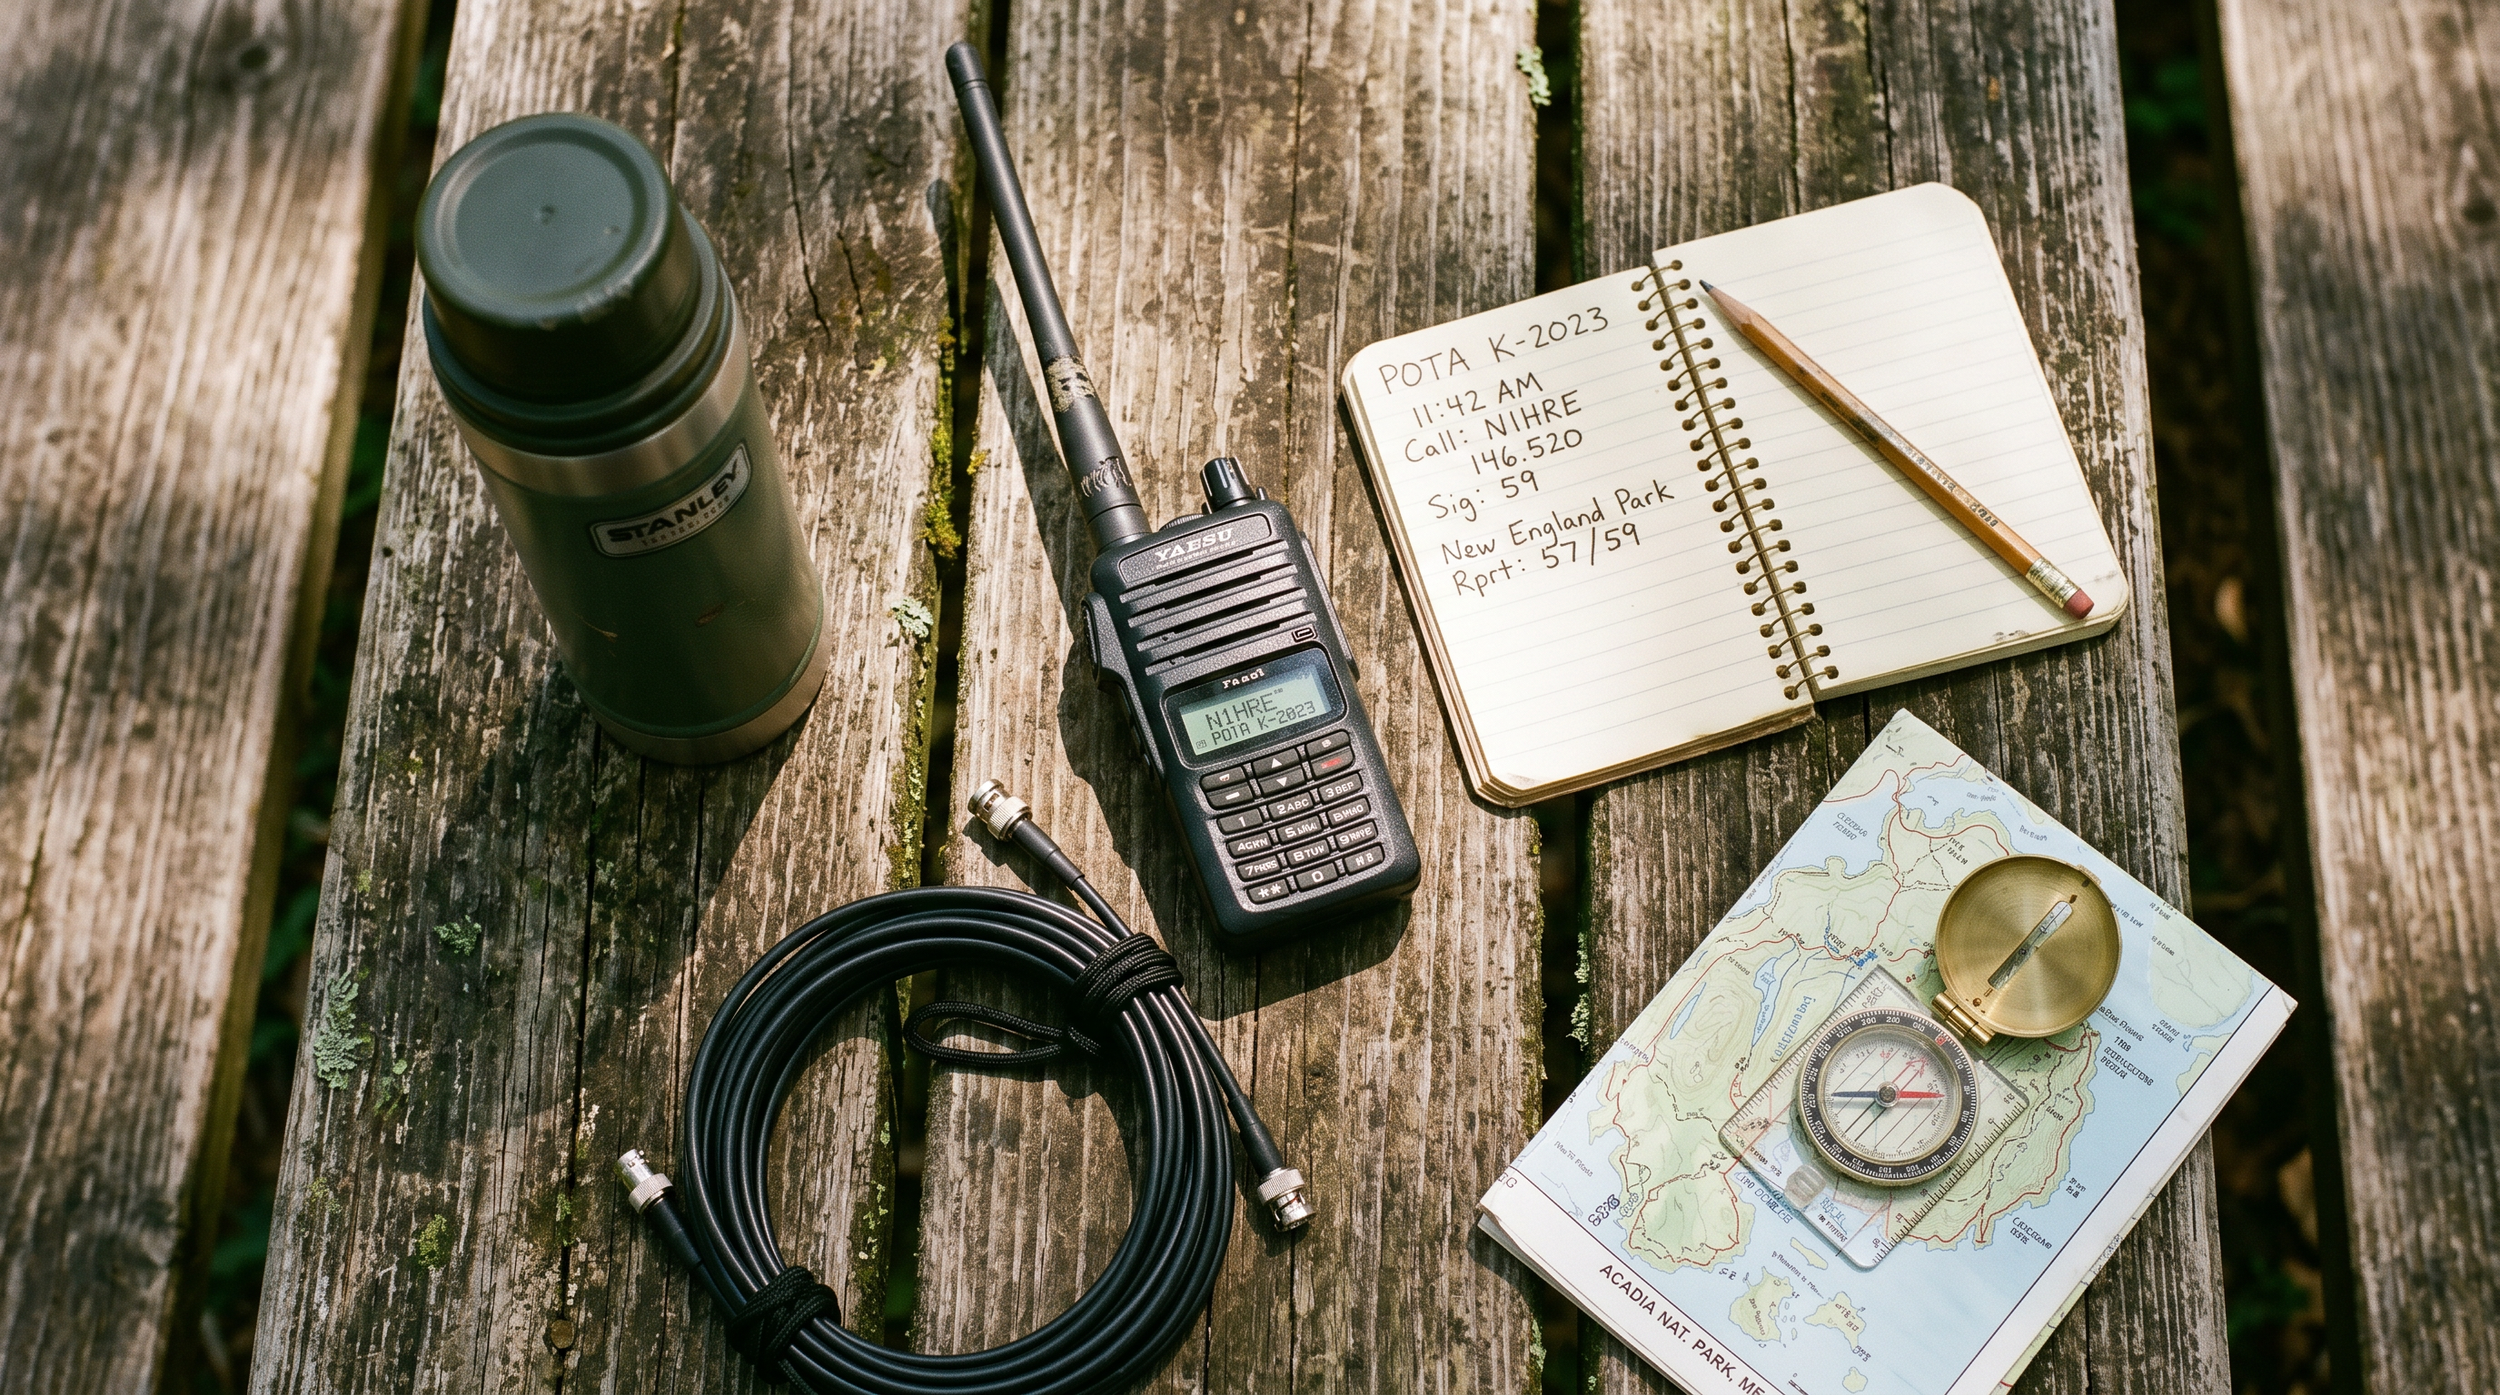
The Log: Paper First, Digital Later
For your first activation, log on paper. Seriously. A spiral notebook and a pencil — not a pen, because cold and wet happen — is bulletproof. The required fields for a POTA log are: date, time (UTC), band, mode, and callsign of the station worked. That's it. You can also add a signal report if you want, but it's not required for upload.
After the activation, you'll enter those contacts into ADIF format for upload to the POTA website. The two most popular logging apps are HAMRS (works offline, great mobile app) and RumLogNG. Many activators use these in the field on a tablet or phone. But if you're nervous about technology failing, paper is the backup that never crashes.
One thing beginners often miss: you need to log the park reference number (e.g., K-1234) in your upload. POTA's website has a "parks" search where you can find the reference for wherever you're going. Look it up before you leave home and write it at the top of your log page.
What to Bring: The Full Packing List
Here's a practical list. Don't overthink it:
HF transceiver (FT-891, G90, or whatever you've got)
20 Ah SLA battery, fully charged, with Powerpole pigtails
EFHW or dipole antenna, pre-measured and coiled
20-33 ft fiberglass mast + stakes + bungies
50 ft coax (RG-8X is a good weight/loss tradeoff for portable)
PL-259 to SO-239 adapter if your antenna has a different connector
Spiral notebook + pencil
Phone or tablet with HAMRS loaded and park reference entered
Extra coax barrel connector — the one time you don't bring it, you'll need it
Coffee. Non-optional.
On the Drive Over
Check the POTA website and confirm your park is on the list and is currently valid. Some parks get delisted or require special access. Also check the POTA spotter network (pota.app) to see if anyone else is already activating the same park — if so, you might want to call it a combo activation, or head to a different park.
Getting Your 10 Contacts
Once you're set up and on the air, self-spot yourself on pota.app. The spot includes your callsign, frequency, mode, and park reference. Within a minute or two you'll start getting callers. A basic CQ call looks like: "CQ POTA CQ POTA, this is November One Juliet Uniform Romeo, portable, activating K-1234, listening."
Keep exchanges short — callsign, signal report, park number. People in the pileup have places to be. After 10 contacts, you've got a valid activation. After 44, you qualify for a "certificate." But don't fixate on a high count on day one — just get the 10, breathe, enjoy it, and decide if you want to keep going.
Most activators find that 40m SSB during the afternoon is the most reliable band for stacking contacts quickly. 20m opens up things geographically but can be quieter on weekdays. If you're running 100W and have a decent antenna, both bands will work.
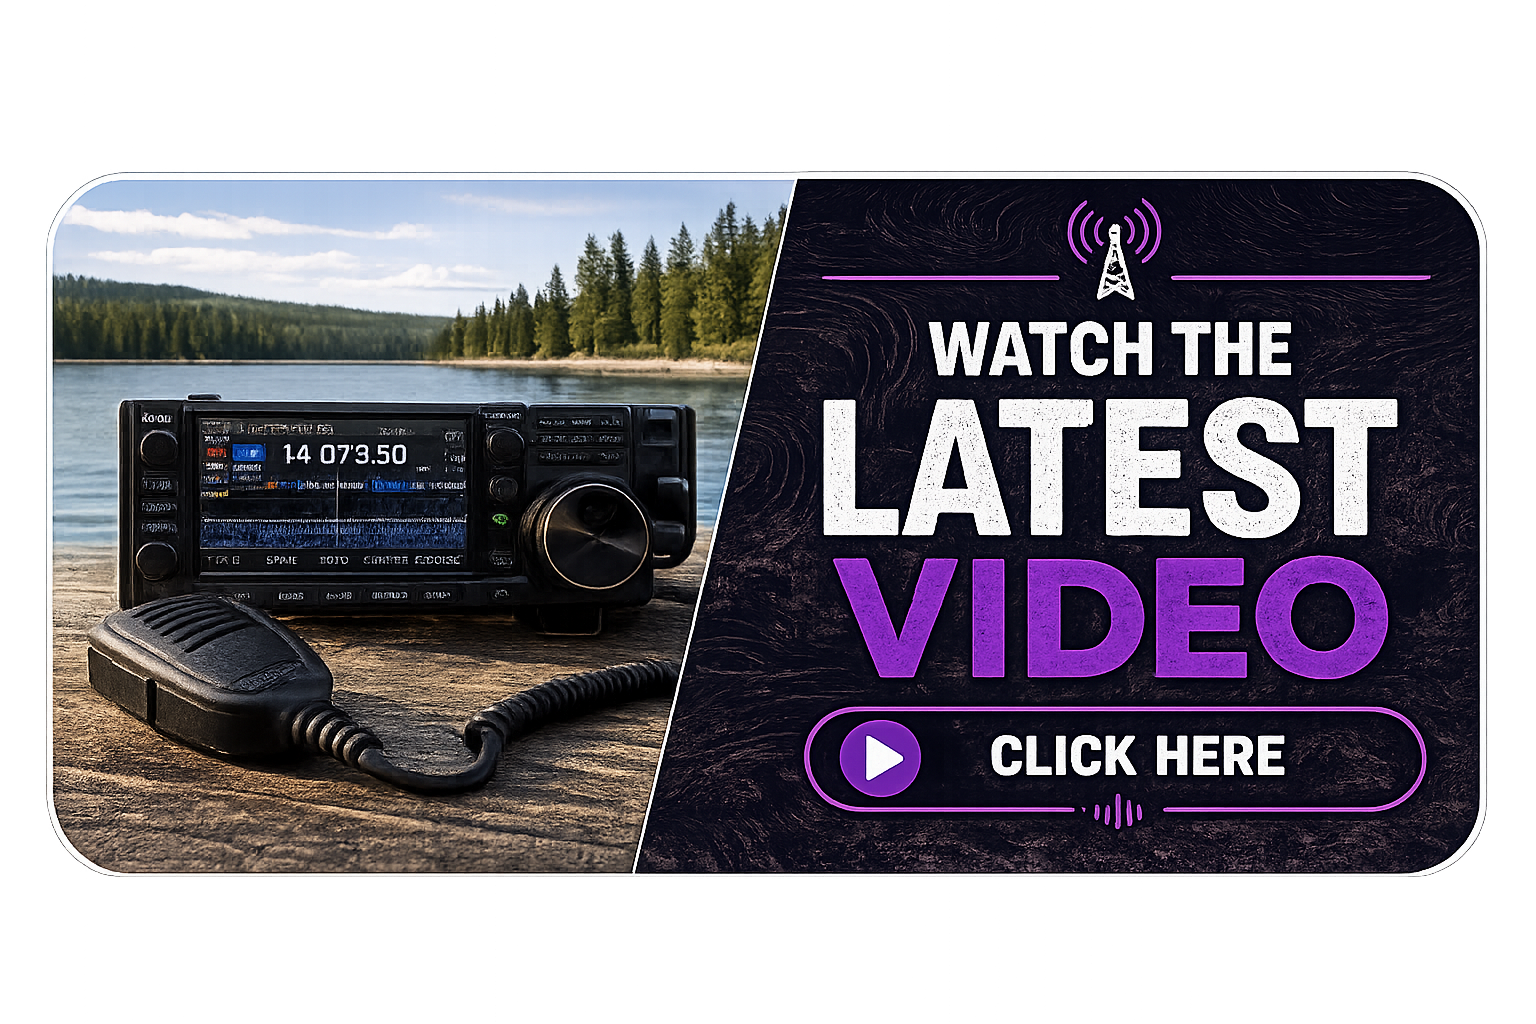
Watch & Learn
Want to see what an activation actually looks like before you go? These videos will fill in the gaps:
[POTA Tips, Tricks & Hacks for your activation (N1JUR talk)](https://www.youtube.com/watch?v=4eRNNE5tLfw) — a deep dive into the small operational details that make activations smoother
[How POTA is Changing Ham Radio Forever](https://www.youtube.com/watch?v=zXcVsEP977c) — a big-picture look at why the program has grown so fast and what it means for the hobby
[How to Activate POTA Parks the RIGHT Way (N4BFR + AC4SH)](https://www.youtube.com/watch?v=gnFHbwgt6YM) — two experienced activators walk through their setup and operating habits
Go Do It
You're more ready than you think. The gear requirements are low, the learning curve is quick, and the community is absurdly welcoming. Your first activation will probably not go perfectly — something will be loose, the band will be slow for a few minutes, you'll forget to log somebody. That's fine. It's part of the deal, and it makes the 10-contact milestone feel earned.
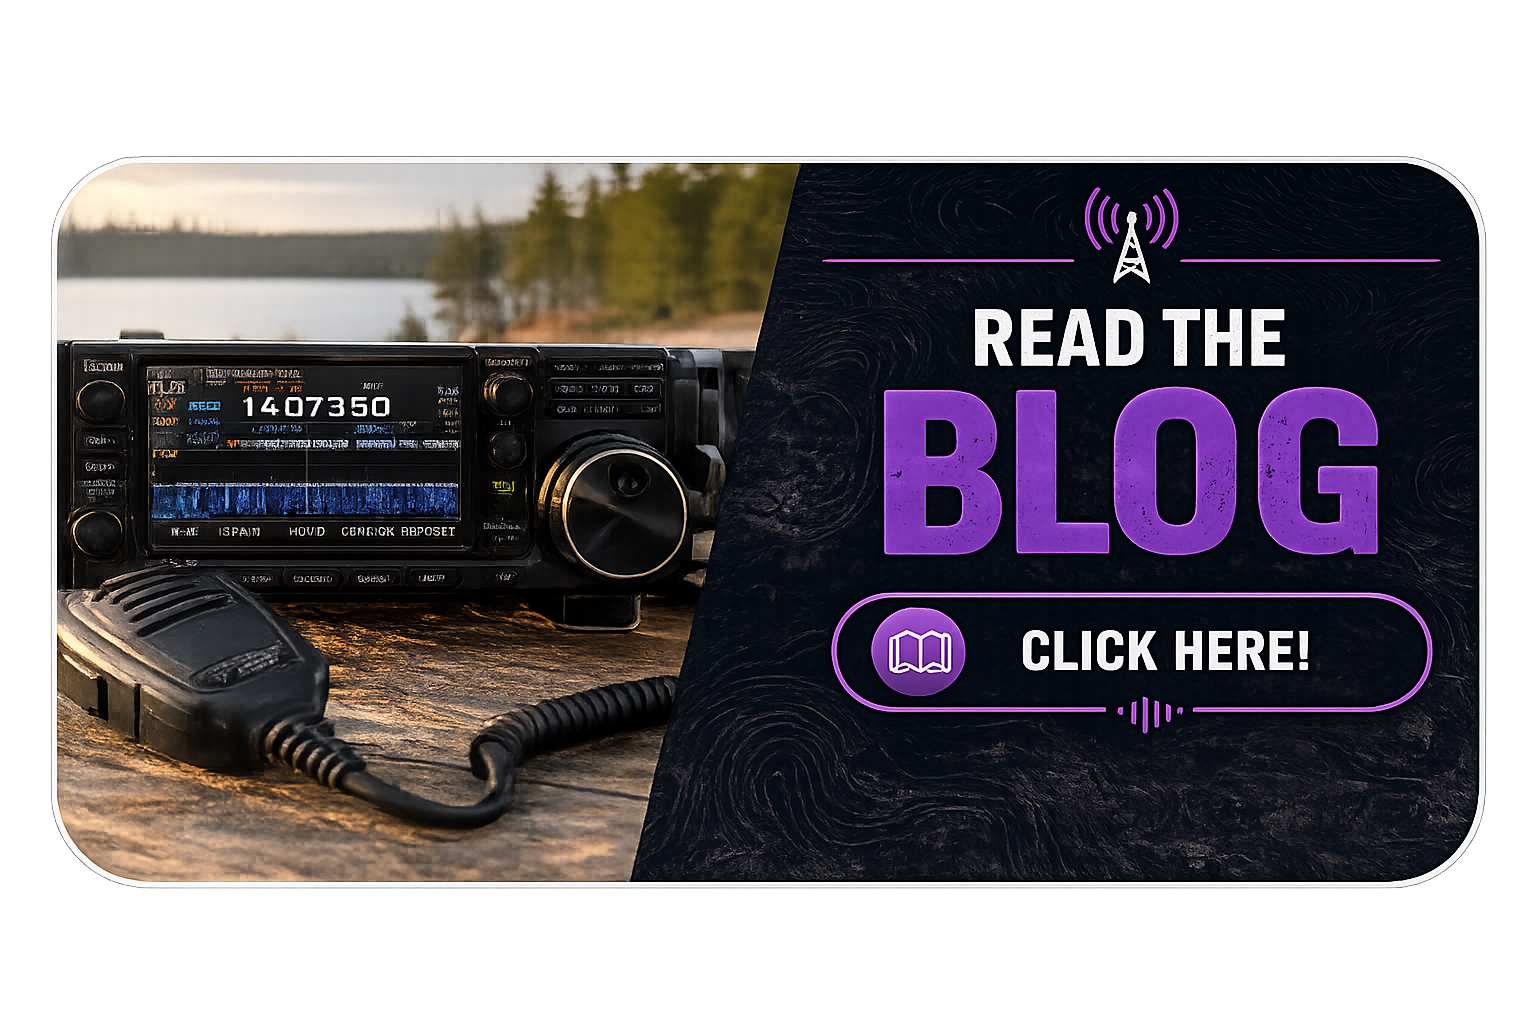
If you've got questions, come hang out in the Brew & Activate Discord at [discord.gg/zwg9mWyHmY](https://discord.gg/zwg9mWyHmY) — there's always somebody in there who's done their 200th activation and is happy to talk gear, parks, and strategy. Or swing by [n1jur.com](https://n1jur.com) for more guides. Now go find a park.
Like What’s Happening Here?
N1JUR is built around helping more people get active in ham radio through videos, Field Notes, POTA content, live streams, gear reviews, and community.
If you already watch the channel and want to support more of the work behind it, memberships are one way to help keep the signal going.
Videos. Field Notes. Live Streams. Community.
Membership support helps keep the N1JUR ecosystem moving without turning every page into a pledge drive wearing a callsign hat.
Learn About the Community →
The Advantages of Operating Amateur Radio on the Beach or Coastline
For amateur radio enthusiasts, finding the perfect operating location can significantly enhance communication capabilities. One of the most rewarding places to set up your gear is at the beach or along the coastline. The unique environment offers several advantages that can improve your radio experience. In this blog post, we’ll explore the benefits of operating ham radio by the ocean and discuss how salt water plays a crucial role in enhancing radio transmissions.
For amateur radio enthusiasts, finding the perfect operating location can significantly enhance communication capabilities. One of the most rewarding places to set up your gear is at the beach or along the coastline. The unique environment offers several advantages that can improve your radio experience. In this blog post, we’ll explore the benefits of operating ham radio by the ocean and discuss how salt water plays a crucial role in enhancing radio transmissions.
Why Choose the Beach or Coastline?
Open Space and Minimal Interference: Beaches and coastal areas typically provide vast, open spaces free from urban clutter and electronic interference. This makes it easier to establish clear signals, as there are fewer obstacles that can obstruct radio waves.
Enhanced Propagation: The proximity to salt water can greatly enhance radio wave propagation. Coastal environments allow for better signal transmission and reception, which is crucial for reaching distant stations. The combination of the horizon and the ocean can create favorable conditions for both HF and VHF/UHF communication.
Relaxed Environment: Operating from the beach offers a serene and relaxing atmosphere that can enhance your overall operating experience. The sound of waves and the fresh ocean breeze can make for a refreshing break from the usual operating conditions.
Community Engagement: Beaches are often social hubs where fellow radio enthusiasts gather. This provides opportunities for meetups, contests, and spontaneous QSO (conversation) sessions, fostering a sense of community and camaraderie.
The Benefits of Salt Water for Transmission
One of the most significant advantages of operating amateur radio near the ocean is the presence of salt water. Here’s how it enhances your transmission capabilities:
Increased Ground Conductivity
Salt water serves as an excellent ground plane for radio waves. Its high conductivity helps improve signal strength and reduces loss during transmission. This is particularly beneficial for HF (High Frequency) bands, where ground conditions can greatly impact performance. The conductivity of salt water creates a better reflection of radio waves, allowing signals to travel further.
Enhanced Antenna Performance
When using antennas near salt water, operators often experience improved performance. The ocean acts as a natural reflector, allowing antennas to radiate signals more effectively. This is particularly true for dipole antennas or vertical antennas positioned close to the water, which can take advantage of the sea’s conductive properties.
Lower Noise Levels
Coastal areas often have lower ambient noise levels compared to urban environments. The combination of distant signals reflecting off the water and minimal interference allows for clearer reception. This is especially important for weak signal work, where every decibel counts.
Greater Range and Coverage
Salt water provides better propagation characteristics, which can significantly extend the range of your radio communications. Operators often report successful long-distance contacts (DXing) from coastal locations, making it an ideal spot for those seeking to connect with stations around the globe.
Practical Tips for Operating at the Beach
To make the most of your amateur radio experience at the beach, consider the following tips:
Choose the Right Time: Early mornings or late afternoons are often the best times for radio propagation, as conditions can be more favorable during these periods.
Use Portable Gear: Since beaches can be sandy and windy, opt for lightweight, portable gear that’s easy to set up and pack away.
Secure Your Equipment: Ensure your radio and antennas are securely anchored to prevent damage from wind or waves.
Stay Hydrated and Protected: Remember to bring water and sun protection, as operating for extended periods in the sun can be draining.
Operating amateur radio at the beach or coastline offers a unique and rewarding experience for enthusiasts. The combination of open space, minimal interference, and the benefits of salt water can significantly enhance your communication capabilities. Whether you’re seeking to make long-distance contacts, enjoy a relaxed operating environment, or connect with fellow hams, the beach is an ideal location for your next radio adventure.
So pack your gear, head to the coast, and enjoy the waves—both in the ocean and on the air!
Like What’s Happening Here?
N1JUR is built around helping more people get active in ham radio through videos, Field Notes, POTA content, live streams, gear reviews, and community.
If you already watch the channel and want to support more of the work behind it, memberships are one way to help keep the signal going.
Videos. Field Notes. Live Streams. Community.
Membership support helps keep the N1JUR ecosystem moving without turning every page into a pledge drive wearing a callsign hat.
Learn About the Community →
TOP 5 HAM IOS APPS : Part Deux
After the immense interest my previous post received on the Top 5 Ham apps, I decided to create a Part 2. Here are five new HAM apps for iOS that you should definitely have on your smartphone.
Following the positive feedback I received on my previous blog post about the best Ham Apps for iOS, I thought I'd share another list. Without further ado, here are five Ham Apps for iOS that I personally find useful. Please note that these apps are presented in no particular order, and some may be free or low-cost. For full transparency, I purchased these apps with my own money, so the reviews are solely based on my own opinion.
Let’s dive in!

APRS is a well-liked mode utilized in ham radio. The APRS website for tracking plays a significant role in this infrastructure. Whenever possible, I employ APRS on my mobile and handheld devices. I understand that some people feel uneasy about being tracked. Still, I want to emphasize that utilizing APRS on your mobile device improves other tracking systems, particularly in VHF/UHF propagation. Your APRS data can aid in predicting when DX windows open up, as your spotting information provides insight into when and where these openings may occur. The APRS web Shortcut app is one of my smartphone's “important” apps.
APP COST: FREE

I won’t go into much detail with this app as you can easily google it and find a “butt-Ton” of reviews on the app. But if you do any Portable radio or POTA itself, you know its value as a logger. Having it on multiple platforms makes quick, speedy logging the only choice.
You're not alone if you struggle with differentiating between UTC and military time. I often try to calculate the local time when presented with UTC. But with Zulu Time, you no longer have to go through that hassle. This straightforward app has a screen widget that displays the current Zulu time and offers a time converter to help you convert local time to UTC. It's a fantastic addition to your Ham Toolbelt.
APP COST: $3.99

This app may be simple, but it offers a wealth of information when you're out in the field. It utilizes the phone's GPS to determine your latitude, longitude, altitude, and grid square. I find this app incredibly useful when I engage in digital POTA, as it simplifies setting up WSJT-X with the correct grid square.
APP COST: FREE

Building an antenna can be challenging, especially when determining the correct length of wire. While many calculators online can help, I often find myself in a situation where I need to cut the wire and can’t access my paper calculations. That's where HamAntCal comes in - I can quickly get the wire lengths I need with just a few input values. This app offers a variety of calculations for different types of antennas, including ¼ verticals, inverted V's, ½ wave dipoles, and more. Although I don't use it frequently, I always turn to HamAntCal when I need assistance with antenna building.
APP COST: $.99
These are my favorite five Ham apps for iOS. I'm interested in hearing your feedback if you've tried any of them. Additionally, if there are any other Ham apps that you use that I didn't mention, please share them in the comments section. I'm constantly on the lookout for new Ham apps to test out!